Wednesday, June 14, 2023

Practice Mosaic Crochet Pattern - Flower Lattice 2


Flower Lattice 2 Mosaic Crochet Practice Pattern
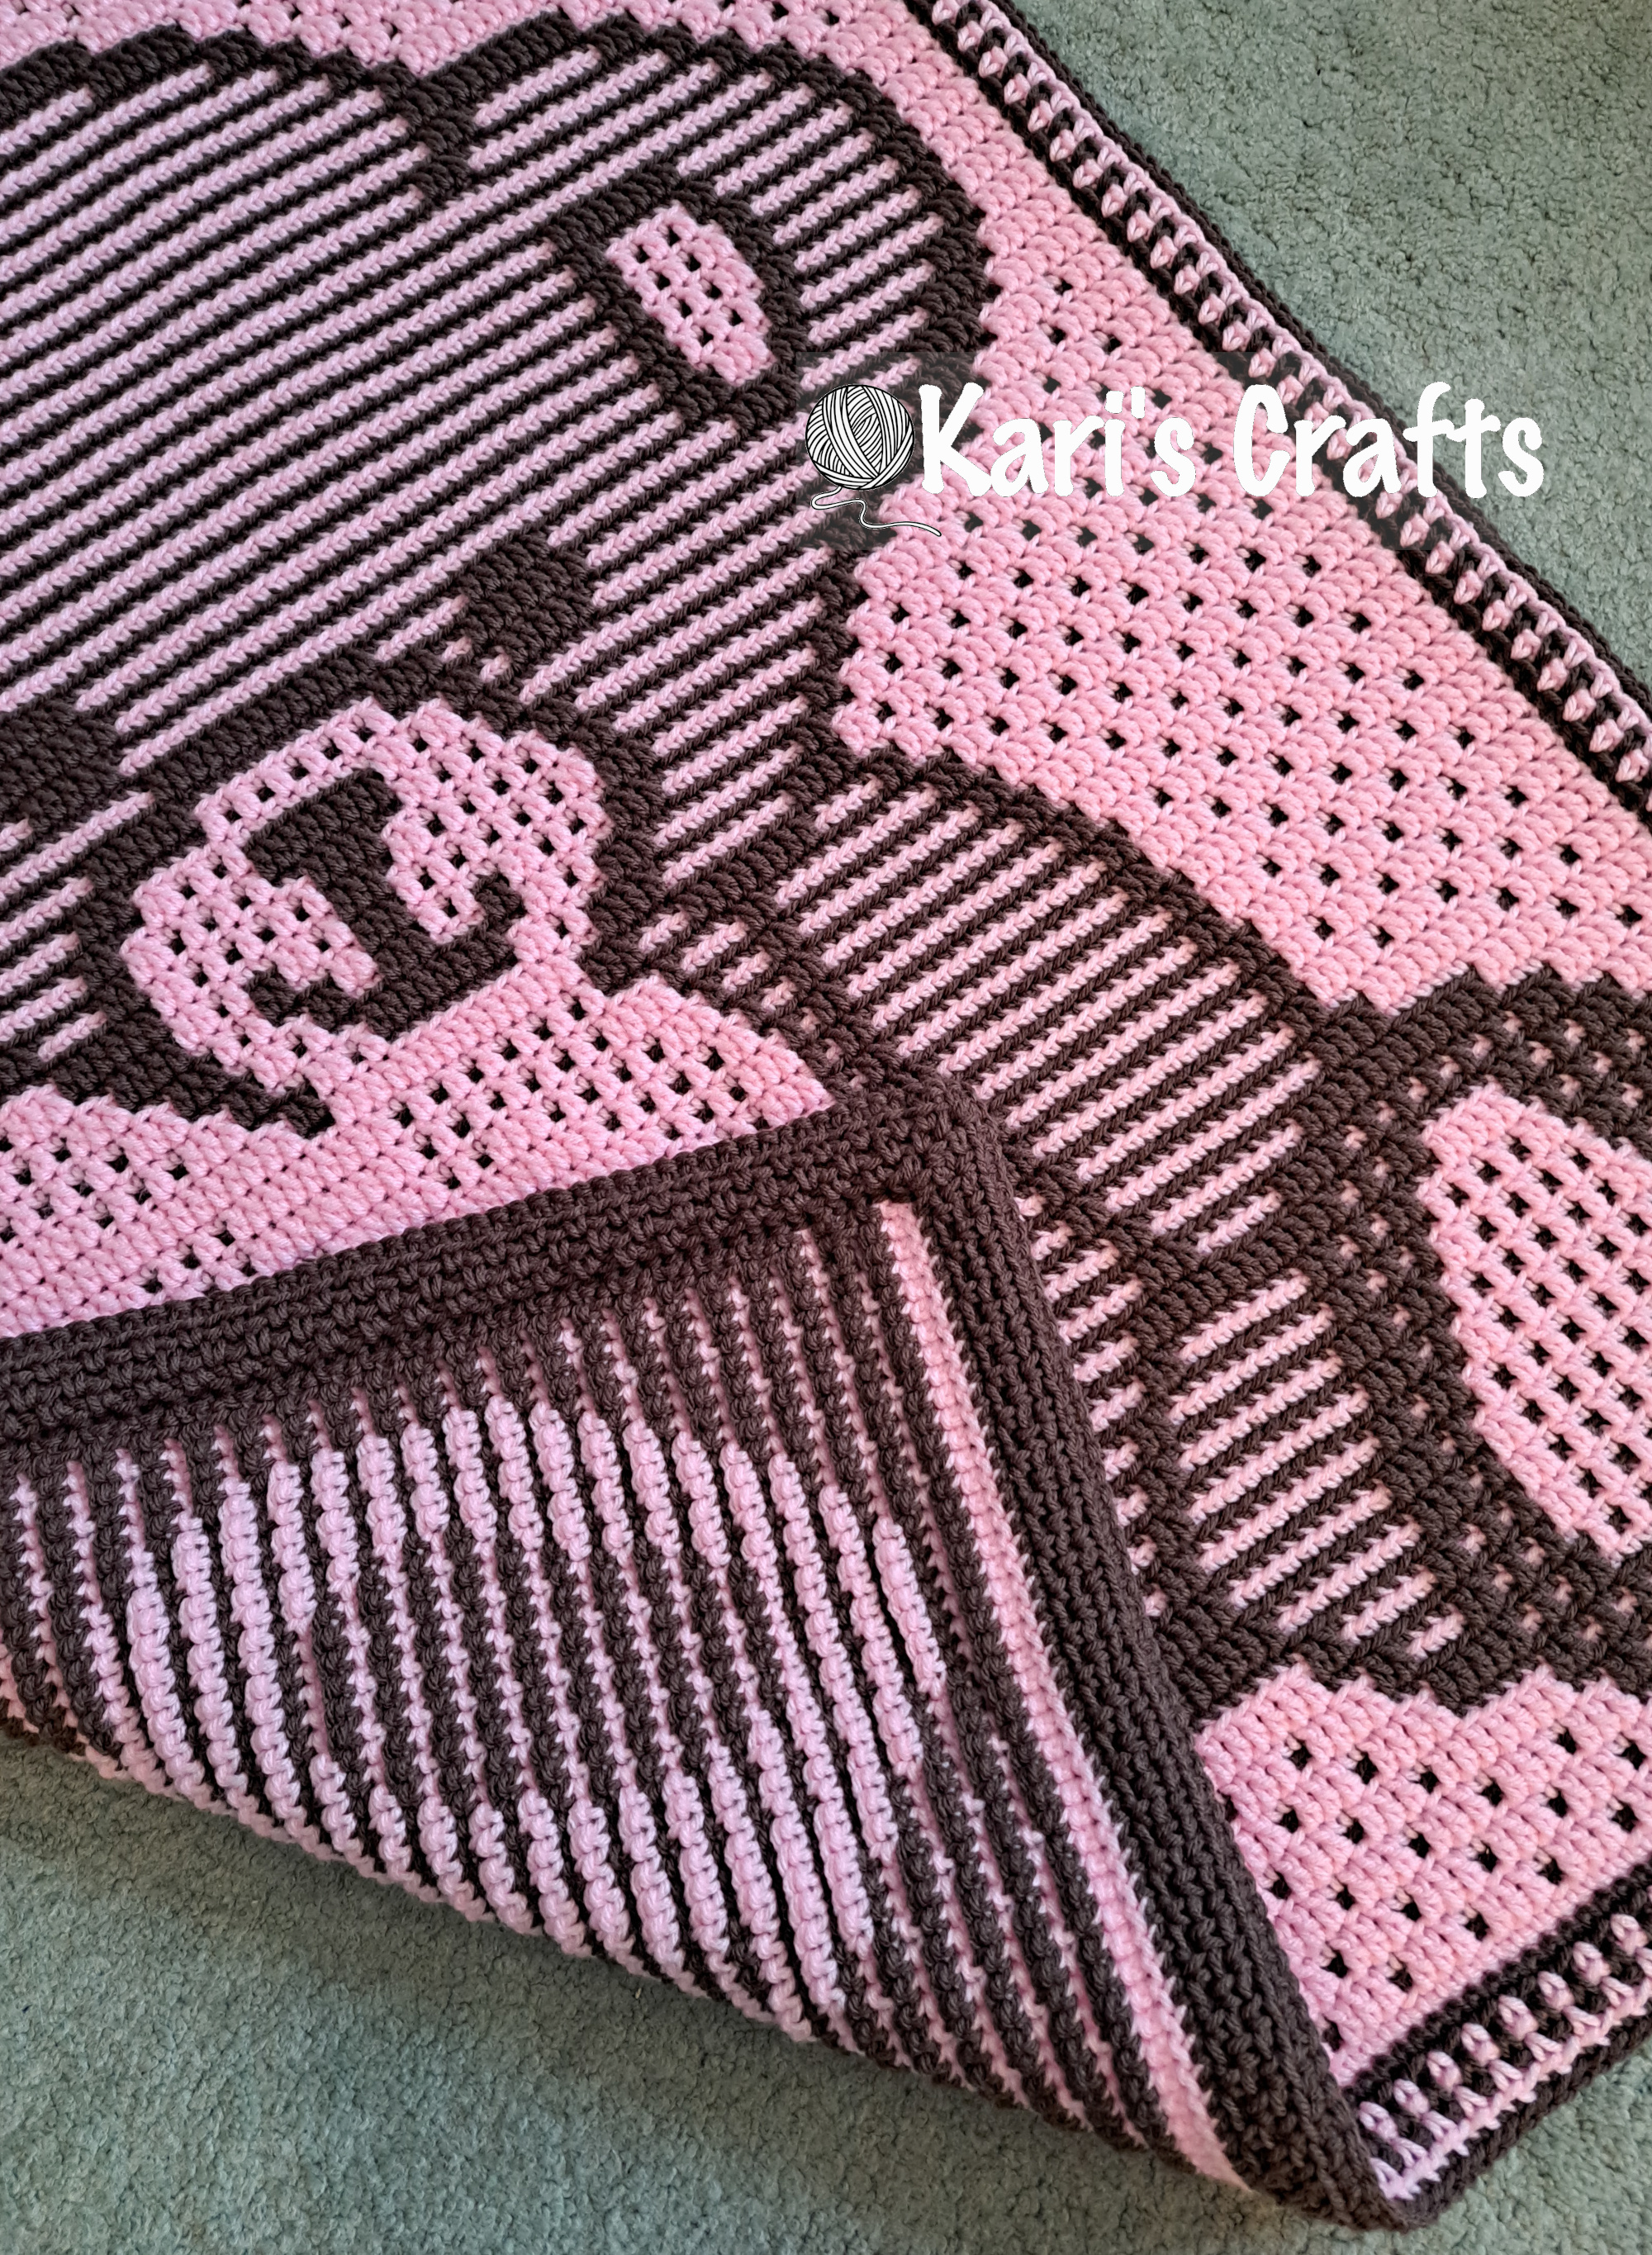
I've been asked by several people how to work overlay mosaic crochet using a third color. So this pattern incorporates a third color in the center. This is part of the video tutorial series that will be available shortly. I've also posted a version of this pattern that only uses two colors. Feel free to reach out if you have any questions or need help. I'm including the charted graph with the double crochet stitches marked with Xs as well as row by row written instructions.

Flower Lattice 2 Practice Graph by Kari Davies

Flower Lattice 2 Written Instructions

  • This pattern was created for overlay mosaic crochet and uses US crochet terms.
  • All rows are read right to left with right side facing. Fasten off after each row.

Abbreviations:

  • BSC = Border Single Crochet. Work a single crochet through both loops of the stitch in the previous row. Hint: Start each row with a standing single crochet.
  • CH = Chain
  • SC = Single crochet in the back loop only of the stitch in the previous row
  • DC = Double crochet in the front loop only of the stitch 2 rows below (work into stitch of the same color)
  • Note: Stitches in red are worked with color C in a color A row.

Row

Color

Written Instructions

1

A

Make foundation cord with 29 stitches, or make 29 foundation sc, or chain 30, sc in 2nd chain from hook and in each chain across (29 sc)

2

B

BSC, CH, 25SC, CH, BSC

3

A

BSC, CH, 25SC, CH, BSC

4

B

BSC, CH, 6SC, 1DC, 11SC, 1DC, 6SC, CH, BSC

5

A

BSC, CH, 7SC, 1DC, 1SC, 1DC, 1SC, 1DC, 1SC, 1DC, 1SC, 1DC, 1SC, 1DC, 7SC, CH, BSC

6

B

BSC, CH, 3SC, 1DC, 1SC, 1DC, 13SC, 1DC, 1SC, 1DC, 3SC, CH, BSC

7

A

BSC, CH, 6SC, 1DC, 1SC, 1DC, 7SC, 1DC, 1SC, 1DC, 6SC, CH, BSC

8

B

BSC, CH, 2SC, 1DC, 6SC, 7DC, 6SC, 1DC, 2SC, CH, BSC

9

A

BSC, CH, 3SC, 1DC, 1SC, 1DC, 1SC, 1DC, 2SC, 5SC, 2SC, 1DC, 1SC, 1DC, 1SC, 1DC, 3SC, CH, BSC

10

B

BSC, CH, 1SC, 1DC, 6SC, 2DC, 5SC, 2DC, 6SC, 1DC, 1SC, CH, BSC

11

A

BSC, CH, 2SC, 1DC, 1SC, 1DC, 2SC, 3SC, 5DC, 3SC, 2SC, 1DC, 1SC, 1DC, 2SC, CH, BSC

12

B

BSC, CH, 1SC, 1DC, 3SC, 2DC, 11SC, 2DC, 3SC, 1DC, 1SC, CH, BSC

13

A

BSC, CH, 2SC, 1DC, 1SC, 1DC, 2SC, 4DC, 3SC, 4DC, 2SC, 1DC, 1SC, 1DC, 2SC, CH, BSC

14

B

BSC, CH, 1SC, 1DC, 3SC, 2DC, 4SC, 3DC, 4SC, 2DC, 3SC, 1DC, 1SC, CH, BSC

15

A

BSC, CH, 2SC, 1DC, 1SC, 1DC, 2SC, 4DC, 3SC, 4DC, 2SC, 1DC, 1SC, 1DC, 2SC, CH, BSC

16

B

BSC, CH, 1SC, 1DC, 3SC, 2DC, 11SC, 2DC, 3SC, 1DC, 1SC, CH, BSC

17

A

BSC, CH, 2SC, 1DC, 1SC, 1DC, 5SC, 5DC, 5SC, 1DC, 1SC, 1DC, 2SC, CH, BSC

18

B

BSC, CH, 1SC, 1DC, 6SC, 2DC, 5SC, 2DC, 6SC, 1DC, 1SC, CH, BSC

19

A

BSC, CH, 3SC, 1DC, 1SC, 1DC, 1SC, 1DC, 9SC, 1DC, 1SC, 1DC, 1SC, 1DC, 3SC, CH, BSC

20

B

BSC, CH, 2SC, 1DC, 6SC, 7DC, 6SC, 1DC, 2SC, CH, BSC

21

A

BSC, CH, 6SC, 1DC, 1SC, 1DC, 7SC, 1DC, 1SC, 1DC, 6SC, CH, BSC

22

B

BSC, CH, 3SC, 1DC, 1SC, 1DC, 13SC, 1DC, 1SC, 1DC, 3SC, CH, BSC

23

A

BSC, CH, 7SC, 1DC, 1SC, 1DC, 1SC, 1DC, 1SC, 1DC, 1SC, 1DC, 1SC, 1DC, 7SC, CH, BSC

24

B

BSC, CH, 6SC, 1DC, 11SC, 1DC, 6SC, CH, BSC

25

A

BSC, CH, 25SC, CH, BSC


Practice Mosaic Crochet Graph - Flower Lattice 1

Flower Lattice v1 practice graph for mosaic crochet

 I have a video tutorial series coming soon that teaches you how to work overlay mosaic crochet from the foundation cord to the stitches involved to the double border. Here is the main practice graph that is shown in the series. There is another graph with the same pattern but adds a third color that I'll post shortly.

Flower Lattice 1 Practice Graph

Flower Lattice 1 Practice Graph - Written Instructions

  • This pattern was created for overlay mosaic crochet and uses US crochet terms.
  • All rows are read right to left with right side facing. Fasten off after each row.

Abbreviations:

  • BSC = Border Single Crochet. Work a single crochet through both loops of the stitch in the previous row. Hint: Start each row with a standing single crochet.
  • CH = Chain
  • SC = Single crochet in the back loop only of the stitch in the previous row
  • DC = Double crochet in the front loop only of the stitch 2 rows below (work into stitch of the same color)

Row

Color

Written Instructions

1

A

Make foundation cord with 29 stitches, or make 29 foundation sc, or chain 30, sc in 2nd chain from hook and in each chain across (29 sc)

2

B

BSC, CH, 25SC, CH, BSC

3

A

BSC, CH, 25SC, CH, BSC

4

B

BSC, CH, 6SC, 1DC, 11SC, 1DC, 6SC, CH, BSC

5

A

BSC, CH, 7SC, 1DC, 1SC, 1DC, 1SC, 1DC, 1SC, 1DC, 1SC, 1DC, 1SC, 1DC, 7SC, CH, BSC

6

B

BSC, CH, 3SC, 1DC, 1SC, 1DC, 13SC, 1DC, 1SC, 1DC, 3SC, CH, BSC

7

A

BSC, CH, 6SC, 1DC, 1SC, 1DC, 7SC, 1DC, 1SC, 1DC, 6SC, CH, BSC

8

B

BSC, CH, 2SC, 1DC, 6SC, 7DC, 6SC, 1DC, 2SC, CH, BSC

9

A

BSC, CH, 3SC, 1DC, 1SC, 1DC, 1SC, 1DC, 9SC, 1DC, 1SC, 1DC, 1SC, 1DC, 3SC, CH, BSC

10

B

BSC, CH, 1SC, 1DC, 6SC, 2DC, 5SC, 2DC, 6SC, 1DC, 1SC, CH, BSC

11

A

BSC, CH, 2SC, 1DC, 1SC, 1DC, 5SC, 5DC, 5SC, 1DC, 1SC, 1DC, 2SC, CH, BSC

12

B

BSC, CH, 1SC, 1DC, 3SC, 2DC, 11SC, 2DC, 3SC, 1DC, 1SC, CH, BSC

13

A

BSC, CH, 2SC, 1DC, 1SC, 1DC, 2SC, 4DC, 3SC, 4DC, 2SC, 1DC, 1SC, 1DC, 2SC, CH, BSC

14

B

BSC, CH, 1SC, 1DC, 3SC, 2DC, 4SC, 3DC, 4SC, 2DC, 3SC, 1DC, 1SC, CH, BSC

15

A

BSC, CH, 2SC, 1DC, 1SC, 1DC, 2SC, 4DC, 3SC, 4DC, 2SC, 1DC, 1SC, 1DC, 2SC, CH, BSC

16

B

BSC, CH, 1SC, 1DC, 3SC, 2DC, 11SC, 2DC, 3SC, 1DC, 1SC, CH, BSC

17

A

BSC, CH, 2SC, 1DC, 1SC, 1DC, 5SC, 5DC, 5SC, 1DC, 1SC, 1DC, 2SC, CH, BSC

18

B

BSC, CH, 1SC, 1DC, 6SC, 2DC, 5SC, 2DC, 6SC, 1DC, 1SC, CH, BSC

19

A

BSC, CH, 3SC, 1DC, 1SC, 1DC, 1SC, 1DC, 9SC, 1DC, 1SC, 1DC, 1SC, 1DC, 3SC, CH, BSC

20

B

BSC, CH, 2SC, 1DC, 6SC, 7DC, 6SC, 1DC, 2SC, CH, BSC

21

A

BSC, CH, 6SC, 1DC, 1SC, 1DC, 7SC, 1DC, 1SC, 1DC, 6SC, CH, BSC

22

B

BSC, CH, 3SC, 1DC, 1SC, 1DC, 13SC, 1DC, 1SC, 1DC, 3SC, CH, BSC

23

A

BSC, CH, 7SC, 1DC, 1SC, 1DC, 1SC, 1DC, 1SC, 1DC, 1SC, 1DC, 1SC, 1DC, 7SC, CH, BSC

24

B

BSC, CH, 6SC, 1DC, 11SC, 1DC, 6SC, CH, BSC

25

A

BSC, CH, 25SC, CH, BSC


Wednesday, May 10, 2023

Stitch Tutorial: Single Crochet Decrease

A very common stitch in crochet is the single crochet decrease, sometimes known as single crochet 2 together. Whatever you choose to call the stitch, it effectively decreases your stitch count by one since you join two single crochet stitches into one.

Below is a quick photo tutorial on how to work this stitch. 

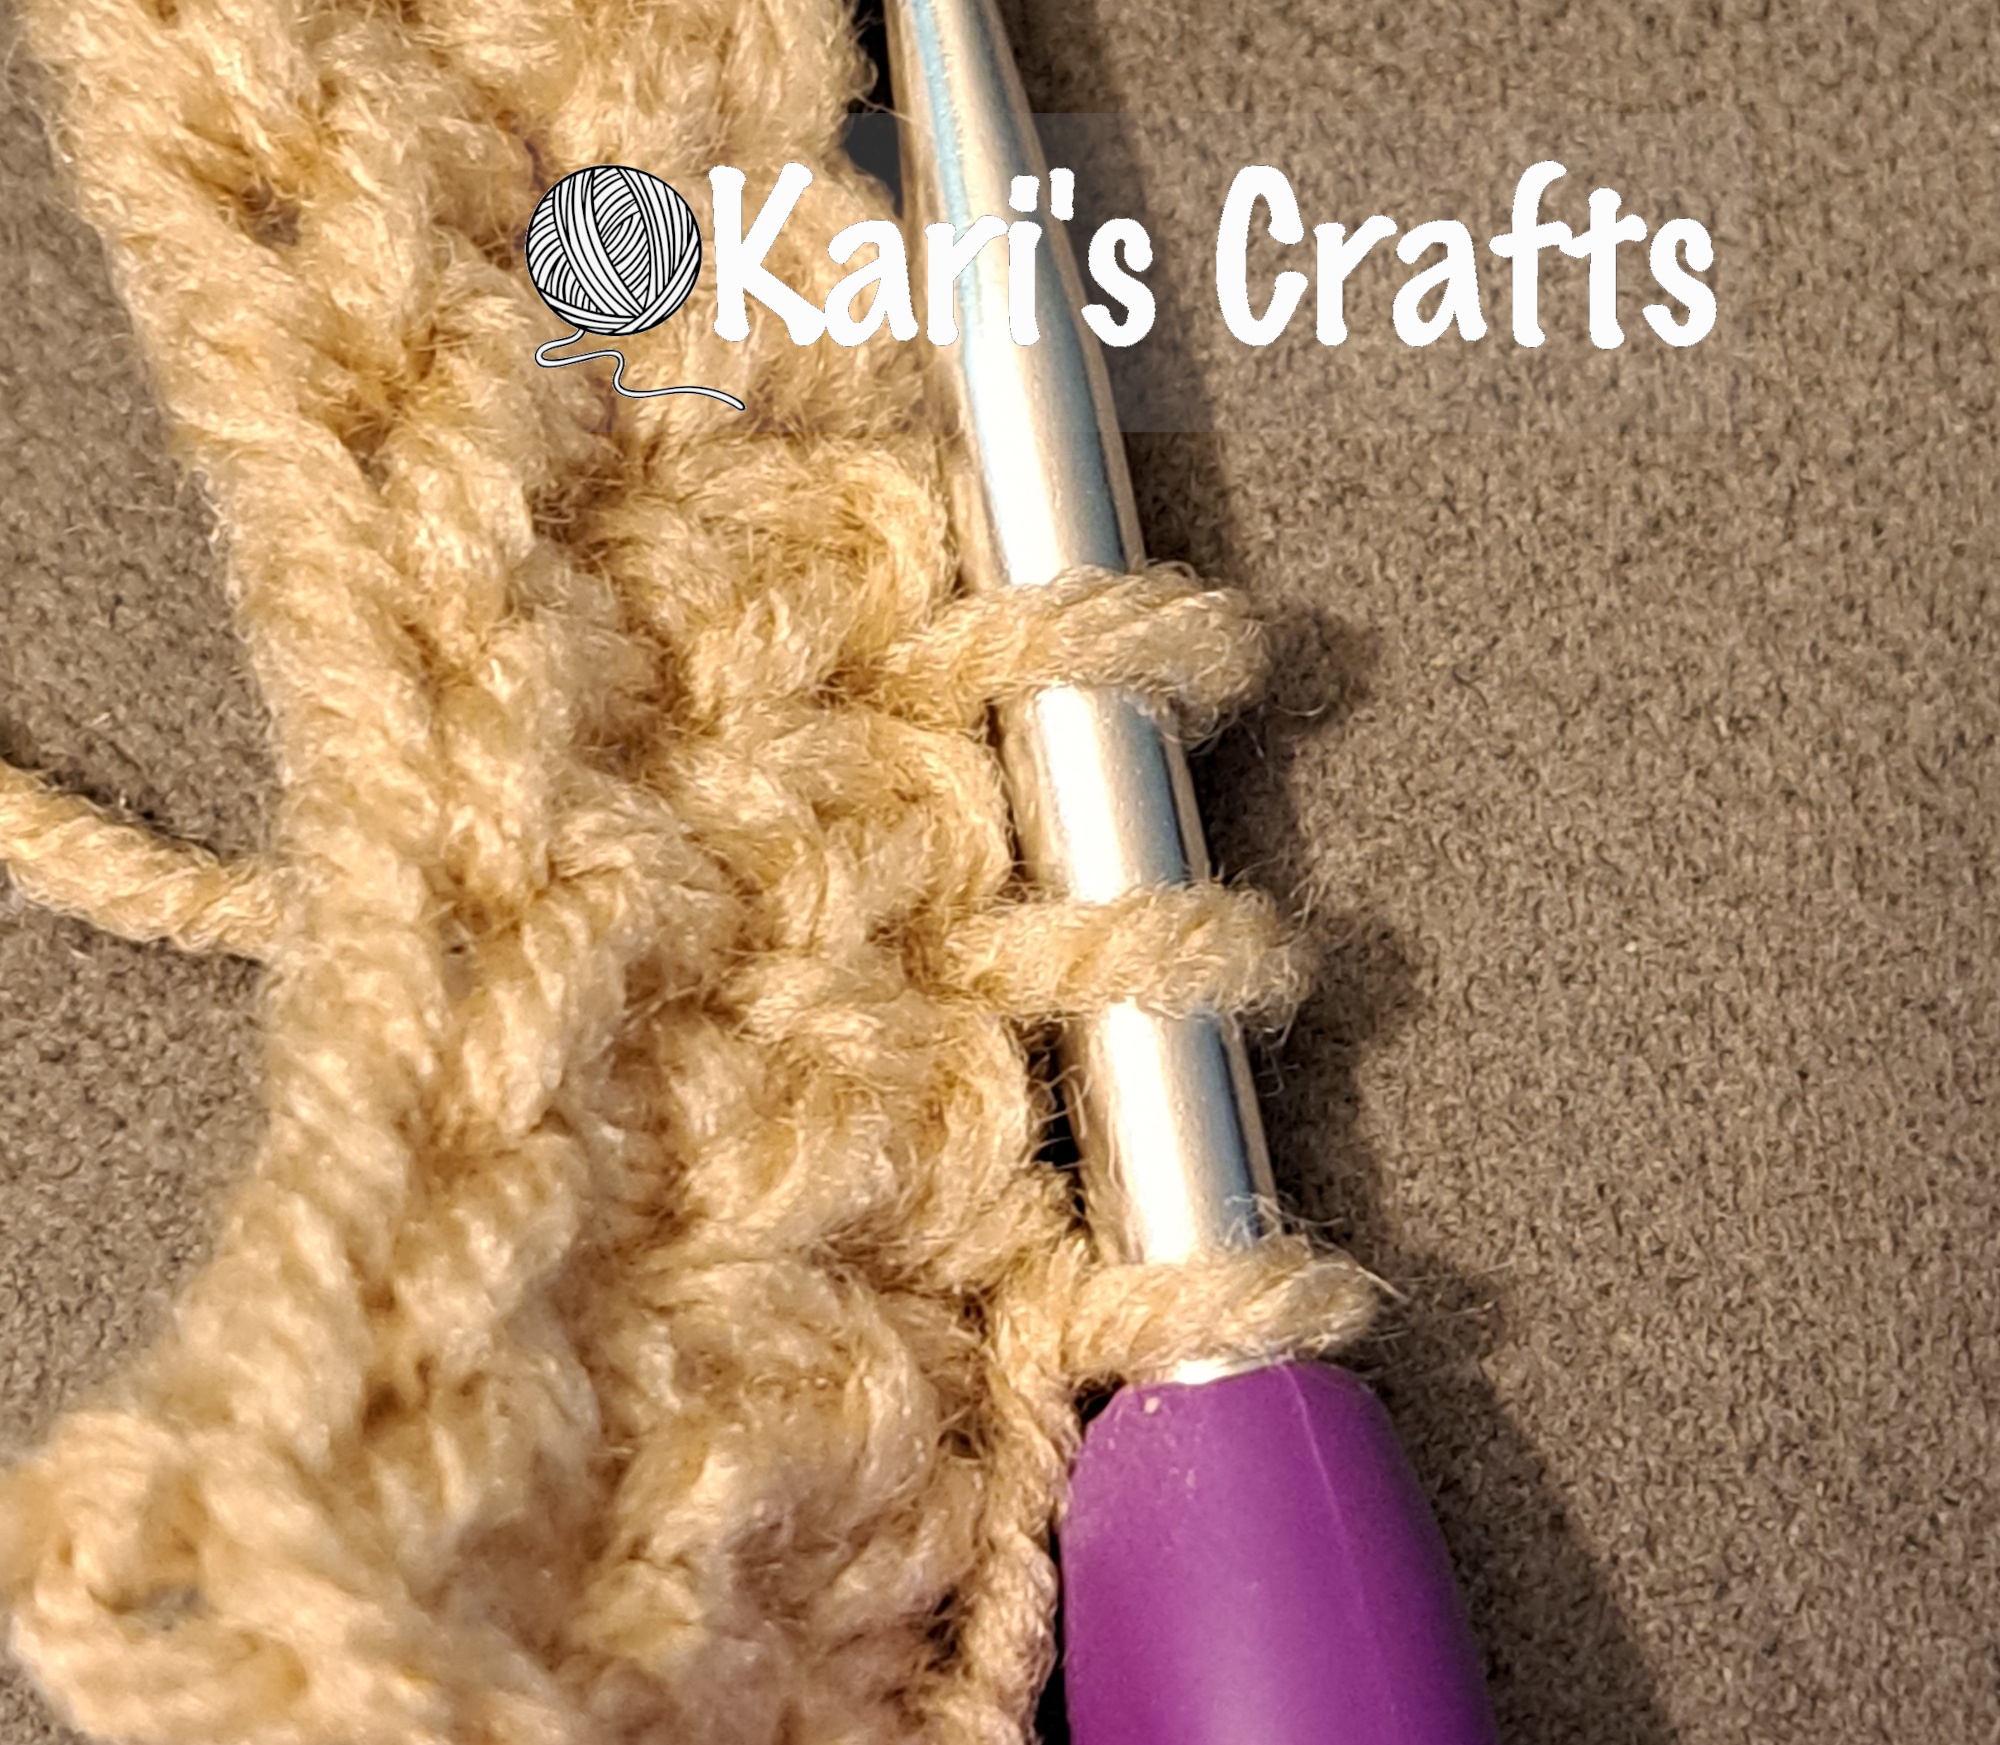
Step 1 to decrease: Insert your hook into the next stitch. Yarn over and pull up a loop. You'll then have 2 loops on your crochet hook. Note: for most projects you'll insert your hook under both loops, but for amigurumi I would suggest working into the front loops only as this will prevent a gap.

Step 2: Again insert your hook into the next stitch. Yarn over and pull up a loop. You'll then have 3 loops on your crochet hook.

Step 3: Yarn over and pull through all 3 loops on your hook to complete the stitch. As you can see below this combines two single crochet stitches into one.

That's all there is to it! So simple! As always, if you have question please comment below or contact Kari by email. 

Wednesday, April 5, 2023

New Pattern Release: Teddy Bear Mosaic


Teddy Bear Mosaic by Kari Davies

This adorable teddy bear baby or lap blanket pattern is based on my popular teddy bear graphghan pattern but is designed to be worked in overlay mosaic crochet. The pattern includes basic overlay mosaic crochet information, yarn information, a charted graph that is marked with Xs for the double crochet stitches, row-by-row written instructions, and instructions for two options or a double border to conceal the yarn ends.

At a gauge of 3.5 stitches per inch the finished size is approximately 31x39", which is a good size for a baby, toddler, or lap blanket. To make this afghan you'll need worsted weight yarn in contrasting colors and a size H/5mm crochet hook. Suggested yarn and estimated amounts needed are listed in the pattern file, but feel free to substitute the brand and colors of your choice.

The pattern is designed for the adventurous beginner to intermediate crocheter, although a more advanced crocheter may enjoy an easier pattern.

The pattern can be purchased in my Etsy shop here.


Tuesday, April 4, 2023

Stitch Tutorial: Standing Single Crochet Stitch

Standing single crochet stitch

I like to start each row of my mosaic projects with a standing single crochet stitch rather than attaching with a slip stitch, chain 1, and then single crochet. To me it's simpler and creates less bulk within the double border. You can use this on other projects as well. It's a good stitch to use when you don't want it to be obvious where your row/round starts. But I've had a few questions about the standing single crochet stitch lately, so I decided to make a quick photo tutorial.

Start by making a slip knot on your hook.

Insert your hook into the space where you want to make your standing single crochet stitch. In this example, it's the border single crochet so you'll insert your hook through both loops of the single crochet stitch at the edge of the previous row.

Yarn over and pull up a loop.

Yarn over and pull through both loops on the hook to complete the stitch.


Wednesday, March 22, 2023

Envelope Border aka Double Border - Front Post Stitch Start

Update 06/19/23: Video tutorial is now available. Scroll down for video link. 

While there are several methods for creating a double border on a mosaic crochet project, this method is the one I most prefer. There are benefits of some of the other methods as well, but it's a matter of personal preference. Some people like the Slip Stitch Start method because it gives a good structure to the border. I personally like the Front Post Stitch Start method better though. One reason is that it's easier to see where to make your border stitches with the front post method. Another reason is it saves time because it skips the step of having to make slip stitches around the project, which also saves a bit on yarn.

In order to be able to start your border with front post stitches you need to have a chain space near the edge of each row of your mosaic projects. For this reason, most of my mosaic patterns include a chain space next to the border stitch on each end of each row. This post will show how to create a solid border. Feel free to customize your project with a pattern in the border, or even a different stitch such as linen stitch for the border rows. That's a subject for another post.

To begin the border, turn your work so the back side is facing you. You can start with the front facing, but it’s easier to see your stitches and makes a cleaner border if you start with the back side.

Round 1: With your border color attach yarn with a standing fpsc (front post single crochet) around the chain in your foundation row that lines up with the chains along the border. This should be the next to last chain of the foundation. Work a fpsc around the chain at the end of each row, including the last row.


When you reach the corner, chain 2 and turn your work 90 degrees so the top of the blanket is facing you. 


Work a sc (single crochet) in the front loop only of each stitch across the row, stopping at the stitch before the chain at the other end of the row. 


Chain 2 to create the 2nd corner. Turn again to work down the next side and work a fpsc around the chain at the end of each row. When you get to the end, chain 2 to create the 3rd corner. Turn again to work across the bottom of the blanket. Work a sc in the front loop only of each stitch across and stop when you reach the fpsc that started the round. Chain 2 to create the 4th corner and either slip stitch to the first fpsc or invisible join to the first fpsc.

Round 2: Chain 1. Scblo (sc in the back loop only) in the same stitch as join. Tip: It may be helpful to place a stitch marker in this first sc so it's easier to see when you complete the round. 

*Scblo in each stitch across. When you reach the chain-2 corner, sc in the first chain (in the actual chain, not in the ch-2 space).


Chain 2. Sc in the second chain of the corner ch-2 (in the actual chain, not in the ch-2 space). ** Repeat from * to ** until you reach the beginning of the round. Either slip stitch to the first sc or invisible join to the first sc.

Round 3: Repeat Round 2. You’ll notice you’ll have to sc an additional stitch each round after the last corner before the join. Fasten off after round 3. (If you choose to work more border rounds repeat round 2. Just be sure to work the same number of rounds for the front and back so the stitches line up properly in the joining round.)

Turn your blanket so the front is facing you. Before working the front layer of the border tie the yarn ends in a knot in pairs. You can then trim the ends short – about 1-2 inches long is plenty.


For the front border, repeat rounds 1-3 of the back, working the fpsc stitches around the chains at the row ends under the stitch from the back layer. Do not fasten off at the end of round 3.


Tip: I find it easier if I gently hold the back border down out of the way while I work the front border.

Joining round: Chain 1. Holding the front and back border layers together so the stitches align, sc in the back loops of both layers to join. When you get to the corners sc into the 1st chain, chain 1, sc into the 2nd chain. Make sure the trimmed yarn ends from the sides are enclosed between the border layers as you stitch. Fasten off and join the round with an invisible stitch. Alternatively, you can join with a slip stitch to the first sc of the joining round and then fasten off. Weave in yarn end.

Update 06/19/23 Tutorial video is now available:


Friday, February 10, 2023

Double Wedding Ring Croquilt Pattern

Double Wedding Ring Croquilt by Kari's Crafts

 Just in time for the busy wedding season I've released my pattern for a croquilt (crocheted quilt) version of the traditional Double Wedding Ring quilt. It is sized to be a large throw blanket that will also fit a full size bed. With an optional border it would fit a queen size bed. You can purchase the pattern on Etsy here.

Also included with the pattern is a bonus file with a single croquilt block. This allows you to create a blanket in any size you like. For reference, the main Double Wedding Ring pattern is 200x250 which is essentially 20 blocks in a layout of 4 blocks wide by 5 blocks high.

Double Wedding Ring Croquilt Bonus Single Block
Purchase your Double Wedding Ring Croquilt pattern on Etsy here.