One thing I really like about working overlay mosaic crochet is that although there are a lot of yarn ends because you're cutting at the end of each row, none of those ends needs to be sewn in if you add an envelope border, which is also commonly known as a double border. The yarn ends all get enclosed between the layers of the border. I actually prefer a different method of starting the border now, but the slip stitch method is how I learned when I first started overlay mosaic crochet. Some people still prefer this method since it adds a nice structure to the edge of the project. I'll make a separate post for the other method.

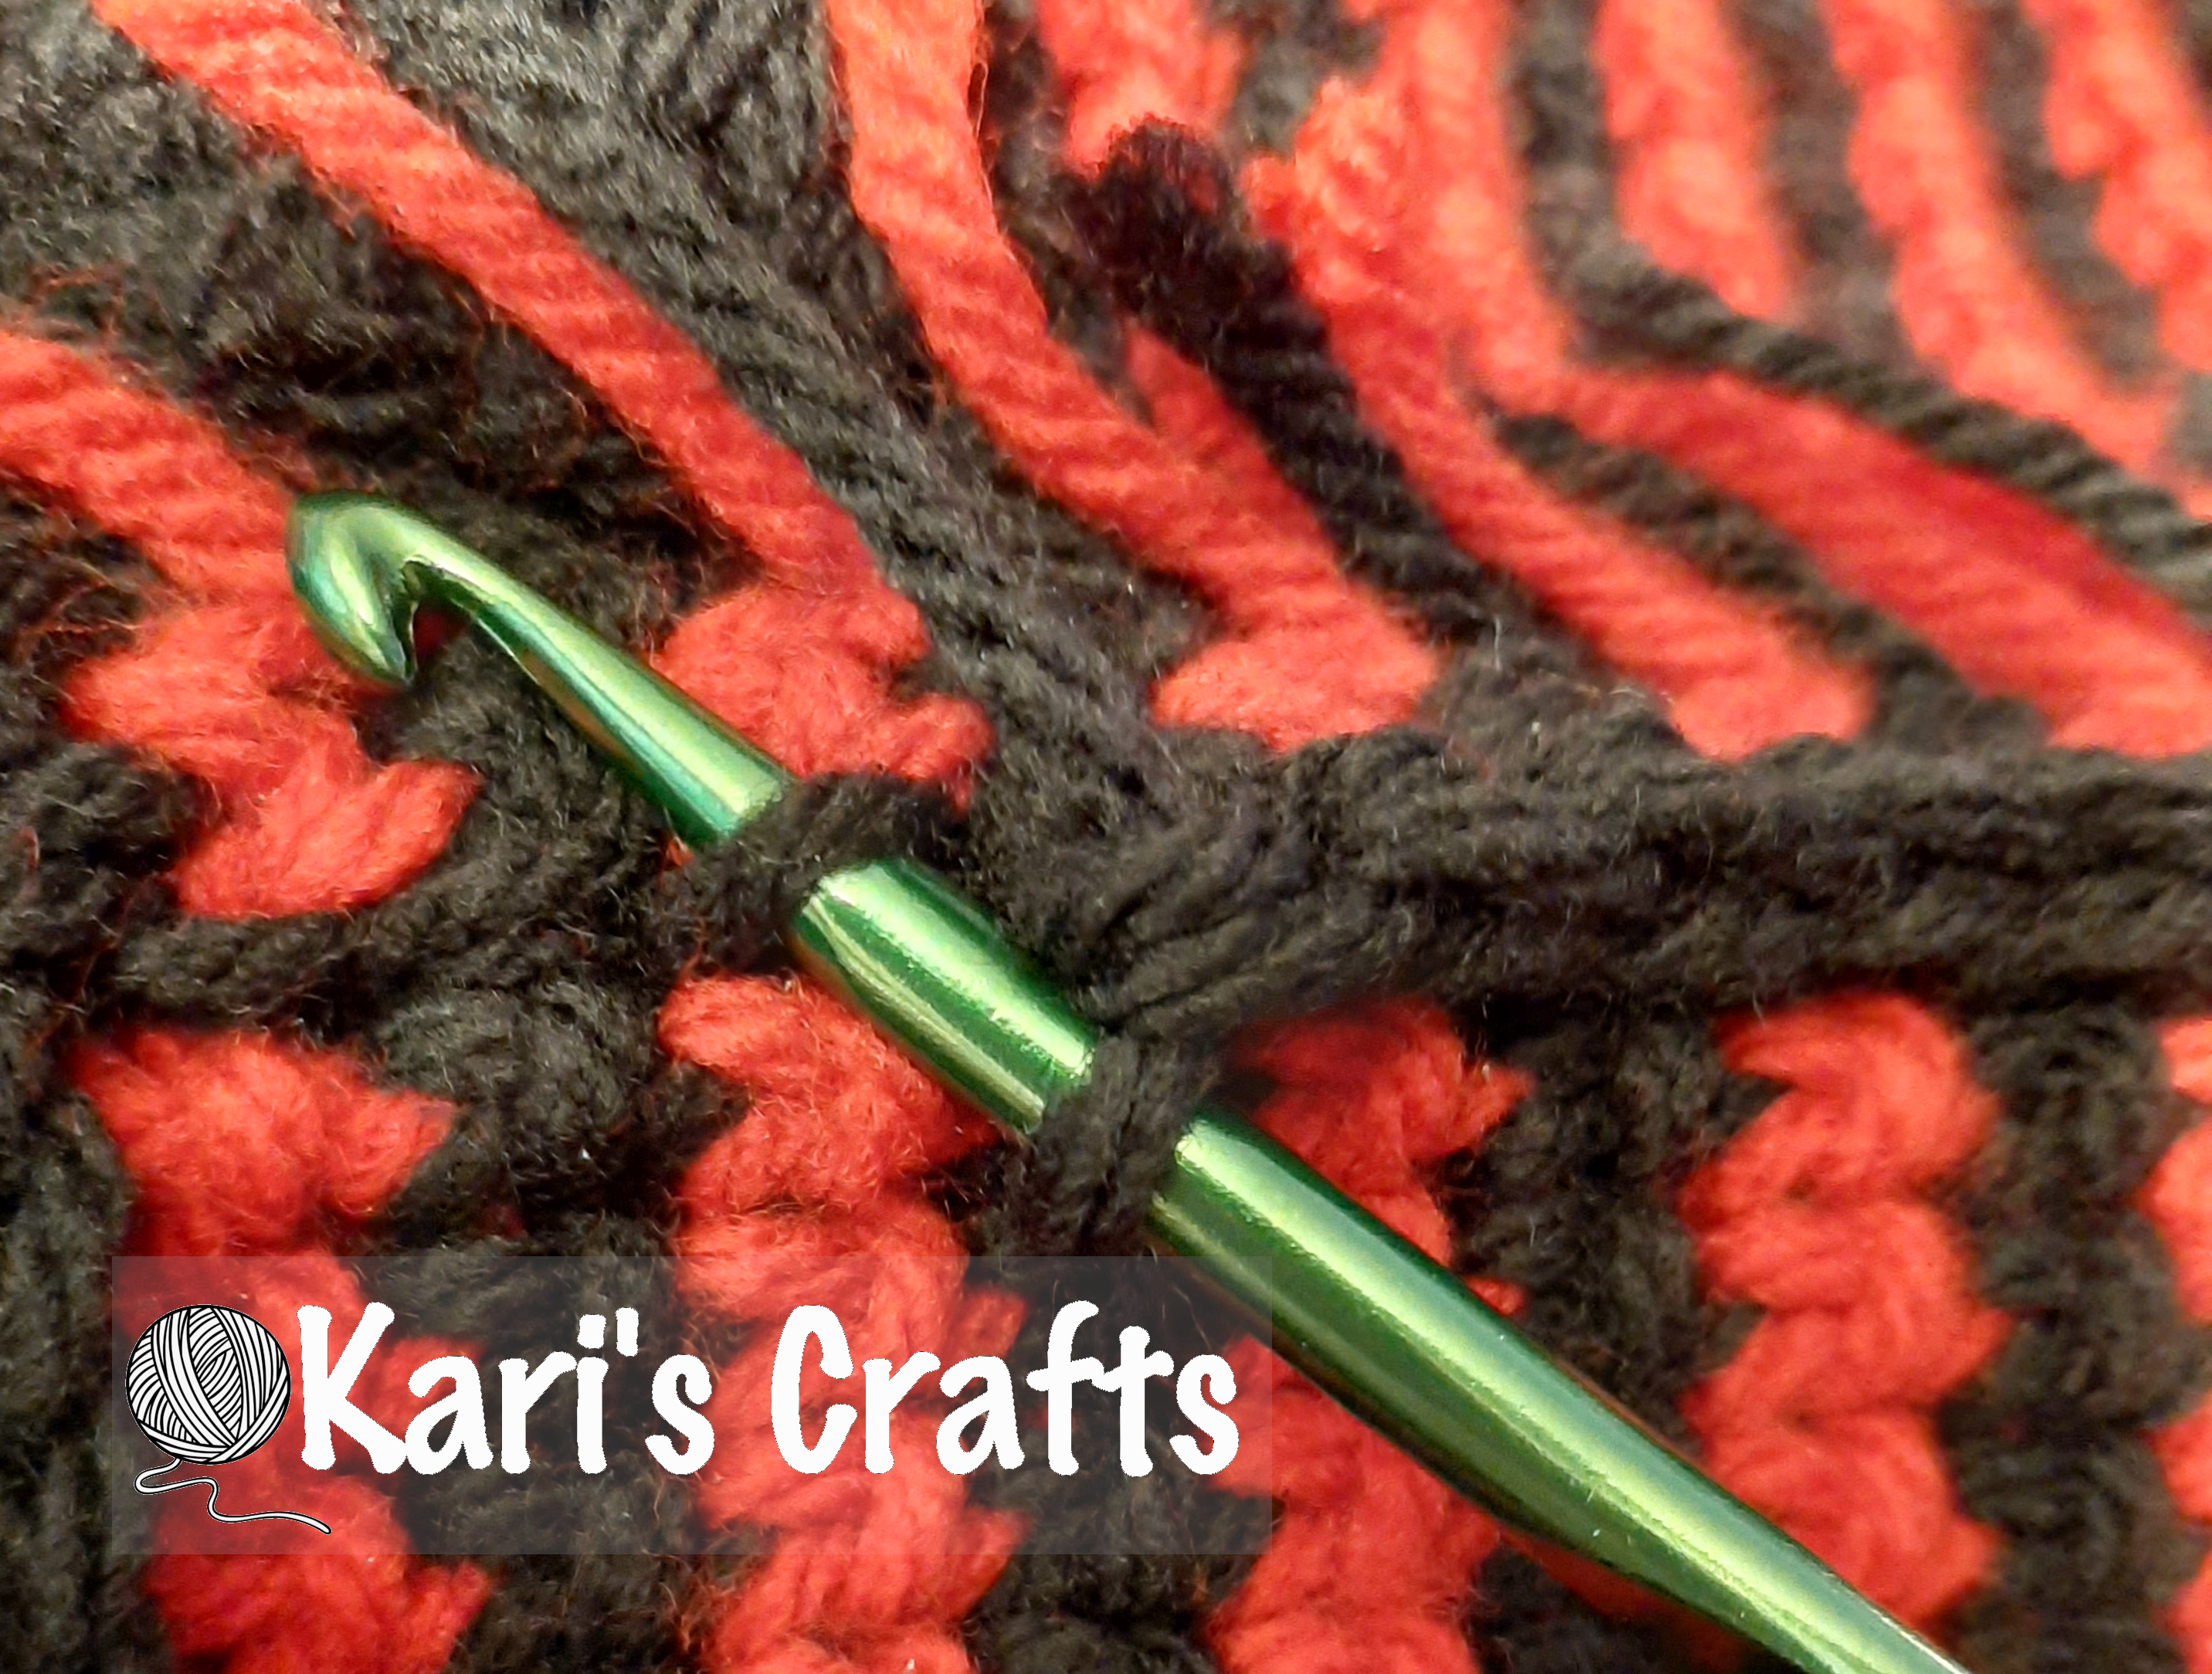
As the name suggests, we'll start the border with a round of slip stitch around the entire project. The slip stitch round will be used to attach both the front and the back of the border. With color B slip stitch around. On the sides this will be in the space between the border stitch and the main pattern. Work a slip stitch in each row. On the bottom this will be between the foundation row and row 1. On the top this will be between the top two rows. (See pictures below.)


Turn project over so the back side is facing you.
Round 1: With color B join with a standing single crochet in the 1st slip stitch of any side. (See pictures) Single crochet in each remaining slip stitch on this side. Ch 2 to create corner. *Single crochet in each slip stitch across side, chain 2 to create corner **, repeat from * to ** twice more, slip stitch to 1st single crochet to join.


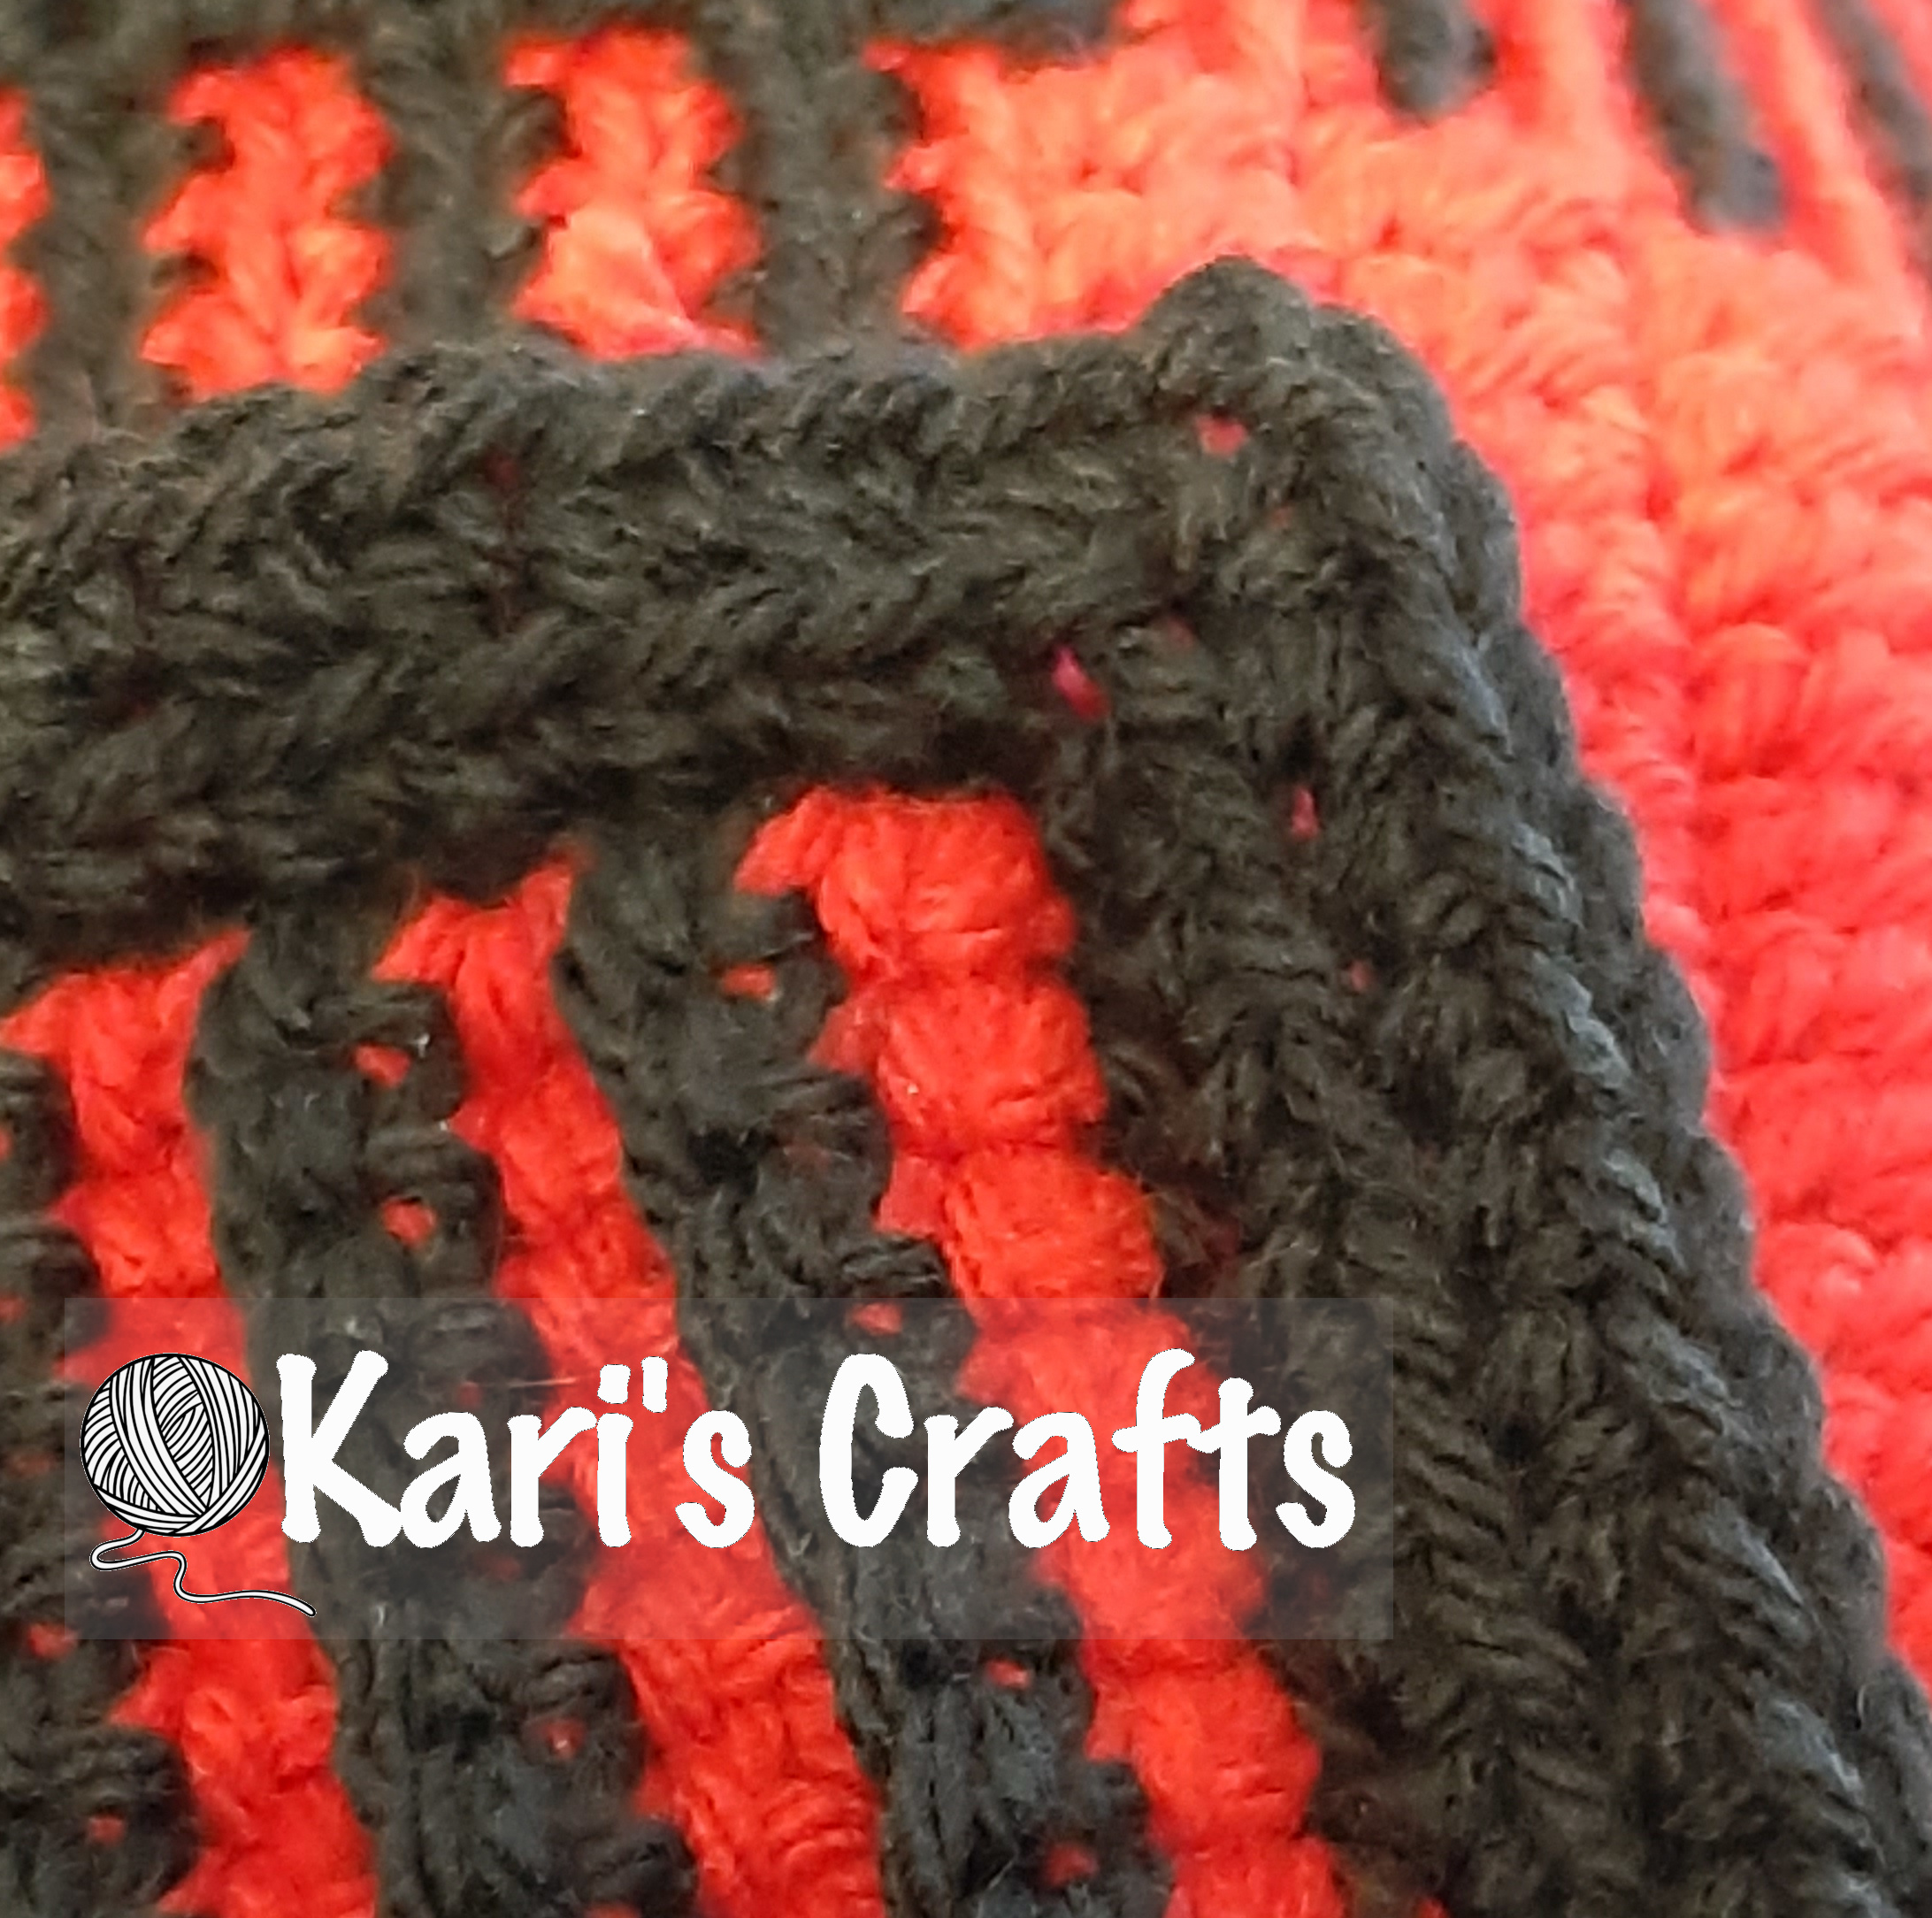
Round 2: Chain 1, single crochet back loop only in same stitch as join, single crochet back loop only in each single crochet across. Single crochet in 1st chain of corner (in the actual chain, not the chain space – see picture). Chain 2 to create corner. * Single crochet in next chain (in the actual chain, not the chain space – see picture). Single crochet back loop only in each single crochet across. Single crochet in 1st chain of corner. Chain 2 to create corner**. Repeat from * to ** twice more, single crochet in next chain. Slip stich to 1st single crochet to join.

Repeat round 2 for as many rounds as you like. Just make sure you do the same number of border rounds on the front and back so your stitch count will match up when you get to the step of joining the front and back together. Depending on the project I'll usually work 3-5 border rounds.
Turn project over so front side is facing you.
Repeat border rounds from the back side working into the slip stitches on the front side of
your blanket. Do not fasten off after the last round.

Take your yarn ends in pairs and knot with a simple overhand knot. You can then trim your ends fairly short - to about 1-2 inches long. Note: Knotting the ends in pairs is completely optional since you've already fastened off each row. It just provides an extra bit of security so you know the ends won't unravel with use.
Making sure all ends are tucked between border layers, hold both border layers together and join with a round of single crochet through both border layers.

No comments:
Post a Comment