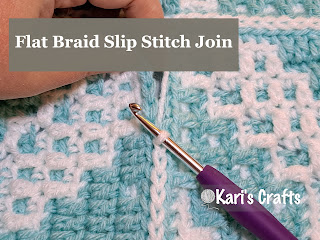
There are many good methods to join pieces of crochet or knit. My current favorite method is the Flat Braid Slip Stitch Join. This method is simple to do, looks nice, and creates a completely flat seam.
How to work the Flat Braid Slip Stitch Join
Below is a short photo tutorial on the flat braid slip stitch join method, followed by a video tutorial.
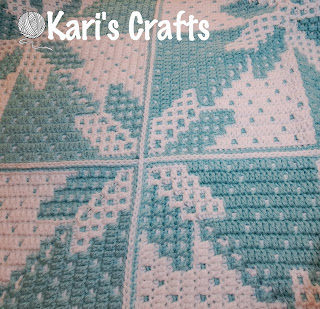
The crochet block I'm using in the tutorial is my Hunter's Star mosaic blanket worked in the round. Since this block is worked in the round there are stitches on all four sides. If you're joining blocks that don't have stitches all the way around you'll want to make a round of single crochet all around so you have stitches to work into for the seam.
Materials Needed
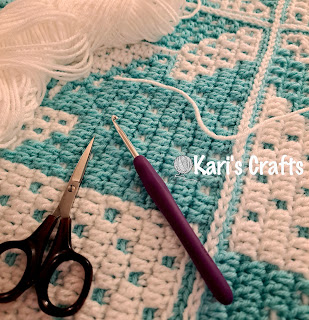
- Blocks/pieces of crochet or knit you want to join/seam together
- Yarn to create the seam. In this tutorial I've used a contrasting color to my blocks as a design element and also to show the difference between the seam stitches and the block stitches. You could also use a matching color yarn.
- Crochet hook in a size appropriate for your yarn. In this case I'm using a size H/5mm hook since I'm using a worsted weight/category 4 yarn.
- Scissors
- Needle to sew in your yarn ends
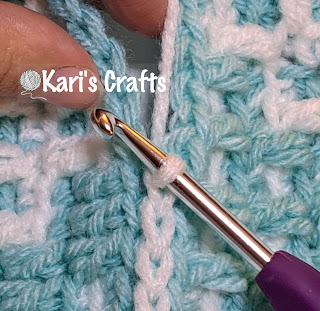
Insert your hook into the back loop of the next stitch of the block on the right. (If you're left handed you may find it easier to start with the back loop of the stitch on the left.)
Then insert your hook into the back loop of the corresponding stitch in the block on the left. (If you're left handed & started with the block on the left, insert into the block on the right in this step.)
Yarn over and pull through all loops on the hook to complete the stitch.
Stitch completed
Continue in this manner all the way down your row. When you turn your work to make the seam in the opposite direction, make a chain over the seam when you come to it. The video shows this in more detail.
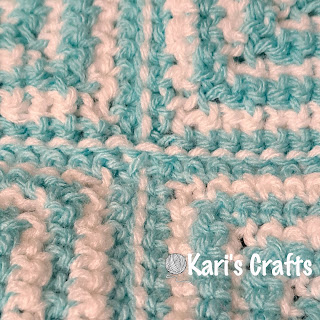
This is what the back side of the seam looks like. Notice how neat and flat the seam is.
If you're more of a visual learner, here is a tutorial video that shows this method in more detail.
I hope this helps! If you have questions please contact me or comment below.



No comments:
Post a Comment